A comprehensive approach to chairside aesthetic rehabilitation with the iTero-exocad Connector™.
Author:
Dr. Diana Tadros, AAACD FICOI FAGD
Ft. Lauderdale, Florida
Case history
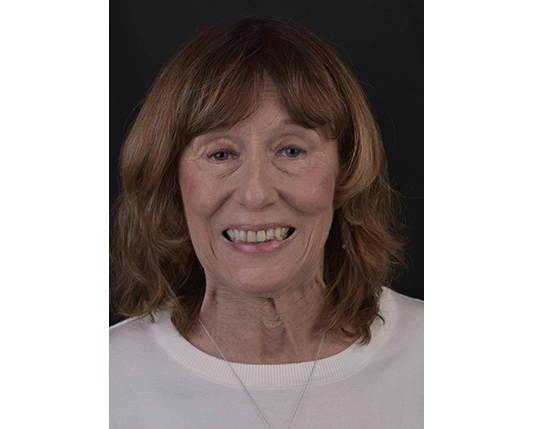
An existing patient who maintains dental care in the North of the US and in our practice when she visits Florida experienced a dental emergency.
After sustaining a fall, her upper left central incisor (#9) was fractured at the gumline. She was treated by her Northern dentist, who extracted the tooth, placed an implant in its position and fitted crowns on both upper central incisors.
Diagnostics
Patient’s chief complaint
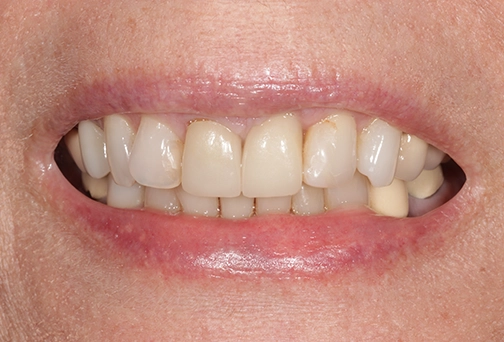
Upon presenting to us, the patient expressed profound dissatisfaction with the results of her treatment. She noted that her new crowns are noticeably narrower than before. She desired to restore the original proportions of her anterior teeth.
Intraoral assessment
The patient had a sizable bonding on the mesial aspect of the upper left lateral incisor, completed prior to the crowning of the central incisors. This contributed to the reduced space for a crown on the upper left central incisor, leading to its narrowed appearance. Additionally, there was a noticeable discrepancy in gingival height between the incisors. The upper right lateral displayed a slight rotation, and an open margin was observed on the right central.
The original iTero™ scan taken was the key and crucial evidence we had to determine that the new crowns were, in fact, much narrower than what she had initially.
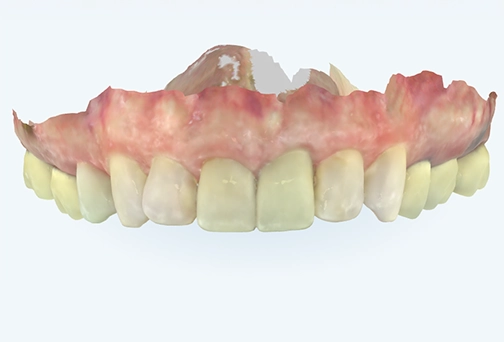
Original scan taken prior to the emergency
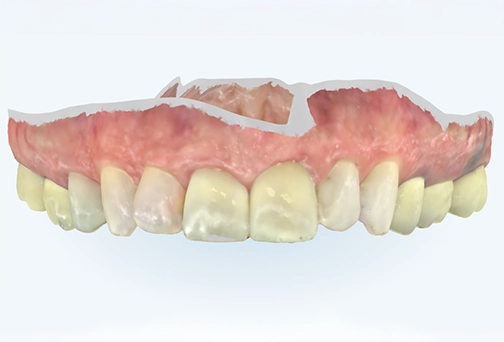
Original scan taken prior to the emergency
Treatment plan
The treatment plan involved replacing crowns on the central incisors and placing veneers on the laterals. Esthetic crown lengthening would also be performed on the upper right central and lateral incisors to harmonize the gingival architecture.
The patient’s primary objective was to restore the original proportions of her anterior teeth. While we did not have pre-emergency photographs for reference, a prior iTero™ scan enabled us to accurately recreate the original tooth shape with a few aesthetic enhancements. This approach allows us to achieve optimal aesthetic results and fulfil the patient’s wishes.
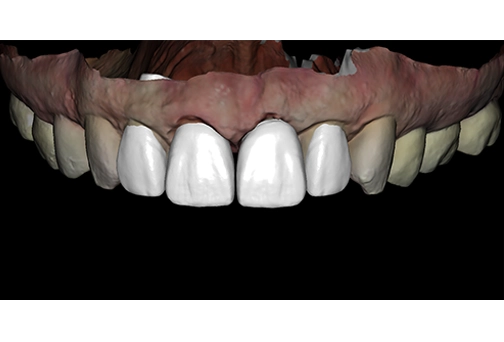
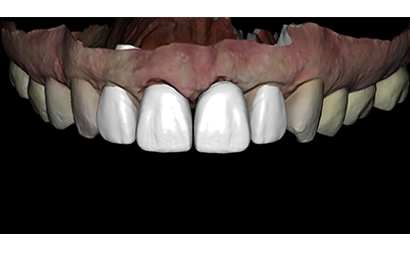
Digtal wax-ip created chairside with the exocad™ DentalCAD software
Digtal wax-ip created chairside with the exocad™ DentalCAD software
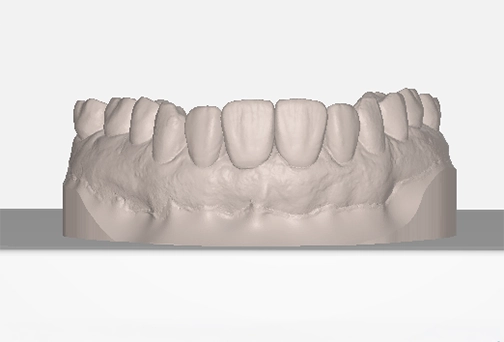
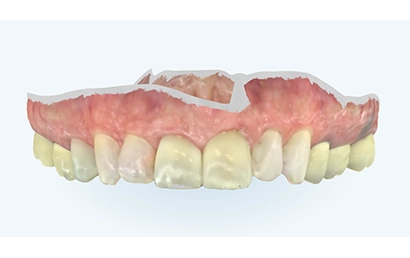
3D model of the wax-up prepared for Printing
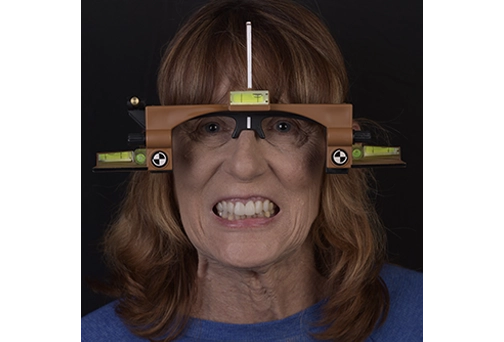
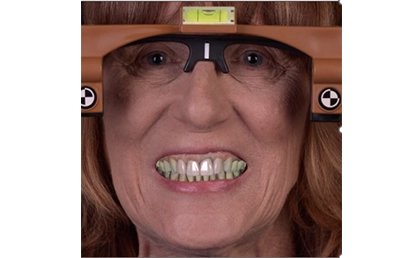
Portrait picture with reference glasses to ensure correct alignment
My integrated chairside workflow with the iTero-exocad Connector™
As part of the consultation appointment, I take the patient’s iTero™ scan, intraoral and portrait photographs. After transferring these records to my in-house exocad™ DentalCAD software design station, I create a digital wax-up. The wax-up is then presented to a patient for review and approval. Once approved, a design is 3D printed to create temporary restorations.
Following the preparation and temporization, I captured another scan to record the final adjustments to the temporary restorations. At this point, a lab steps in to transform my digital designs into final ceramic restorations.
To facilitate this transition, I provide the laboratory with two sets of records:
- The initial set includes the prep scan, shade tab, and pre-temporization photographs.
- A subsequent set was sent a week later, featuring a scan of temporary restorations, my exocad™ DentalCAD design files, and a Microsoft PowerPoint template containing case-specific instructions.
Treatment sequence
Appointment #1: Consultation and digital wax-up design review
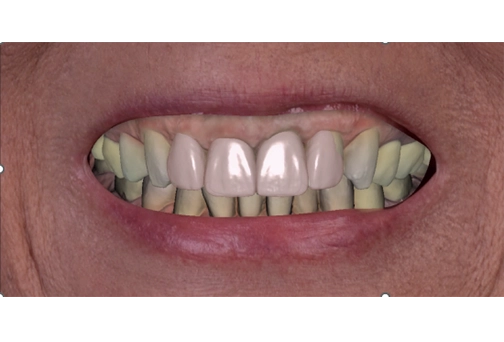
We designed a digital wax-up to visualize the treatment, recreating and aesthetically enhancing the patient’s original tooth shape. This design was then presented to the patient for her approval. Once approved, the finalized design was converted into a 3D-printed model to facilitate the treatment.
Utilizing patient’s original older scan as a reference to design new and enhanced smile and shapes.
Appointment #2: Preparation Day
The patient returned for the removal of crowns and tooth preparation. Esthetic crown lengthening was performed on the upper right central and lateral incisors to harmonize gingival architecture. Stump shade photographs of the prepared teeth were captured, and all records were forwarded to the technician. The patient was then fitted with Luxatemp temporaries, crafted from a matrix derived from the 3D-printed design.
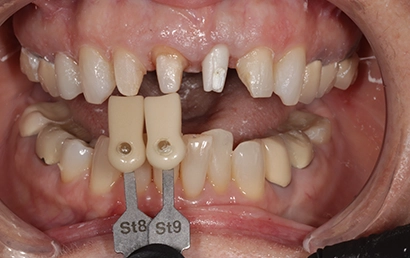
Stump shade capture.
Temporary restorations placed.
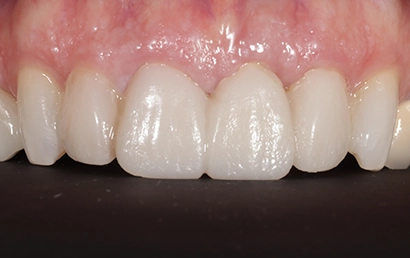
One week follow-up after the temporary restorations were placed.
Appointment #3: Post-Op/Photo Appointment
Adjustments were made to the temporary restorations until the patient was satisfied. An intraoral scan of the adjusted temps was taken. Additional photos were also captured, including those with reference glasses and a shade tab to match the existing dentition. All these records were then forwarded to the ceramist. We chose GC Initial®LiSi Press material for this treatment because of its aesthetic qualities and minimal thickness, allowing for less tooth reduction.
Appointment #4: Insertion Appointment
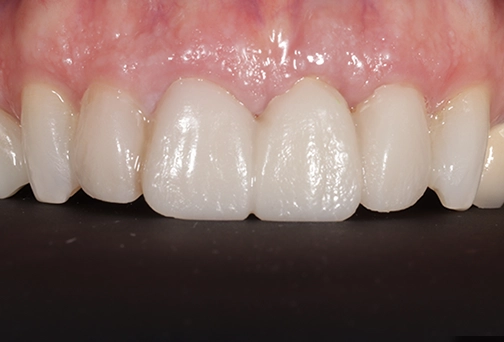
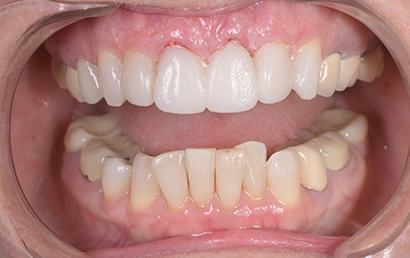
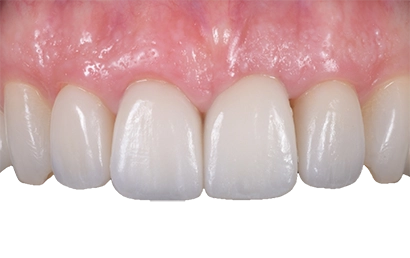
Temporary restorations were removed, and the final crowns and veneers were cemented.
Final result.


Conclusion
With the iTero-exocad Connector™, I am able to send scans, iTero™ NIRI technology (Near Infra-Red Imaging) intraoral camera images, and patient photos directly to my exocad™ DentalCAD design station, streamlining my chairside workflow. It allows me to design in real-time while the patient is still in the chair and eliminates my headaches of manually downloading scan files from the website and retrieving photos from the memory card.
Sharing files with my ceramist is now easier since I can send additional records, like images and patient PowerPoint templates, together with a scan. Consolidating all case-related data into a single secure channel simplifies organization and saves time. These files are permanently stored in the patient’s profile on the MyiTero™ portal, providing easy future reference.
In the specific case discussed, having a pre-existing scan of the patient’s dentition before her work with another dentist was crucial. It allowed us to visualize significant shape changes with the new restorations and was a blueprint to restore what she had lost. The iTero-exocad Connector™ is an integral tool for those who wish to fabricate their own digital designs in-house; it allows for quick digital wax-up design during a consultation appointment, negating the need for follow-up sessions. It offers a unified platform for organizing all files, photos, and data pertinent to a case, enhancing efficiency and patient care. Although I employ a unique chairside workflow using the iTero-exocad Connector™, it can also be seamlessly integrated into traditional dentist- dental lab workflows.

Dr. Diana Tadros, AAACD FICOI FAGD, is a renowned cosmetic dentist who leads her own practice, “Beauty and the Teeth,” located in Fort Lauderdale, Florida.
In her practice, she places a strong emphasis on delivering patient-centered care and stands as the sole Board Accredited Cosmetic Dentist in Fort Lauderdale. In addition to her practice, she teaches a series of workshops to dentists and their staff on how to digitally design and treatment plan cases utilizing exocad™ DentalCAD software. She also serves as a guest instructor at the Kois Center, where she specializes in courses on digital design.
The opinions expressed in this clinical report are those of the author and may not reflect those of Align Technology. The author was paid an honorarium by Align Technology in connection with this clinical report.